Frequently, team meetings generate new tasks and projects as they are specifically intended to propel work forward. Instead of jotting down these repetitive ideas and tasks on physical or digital notes, action items provide a means to store them directly within the 1-on-1 for immediate retrieval and convenience.
1-on-1 action items are unique to each meeting, and those with visibility into the meeting can view them.
In any 1-on-1 meeting with the same colleagues, the Action items will be carried over regardless of the template or cycle.
You and other attendees can create action items as your meeting agenda progresses.
The tasks will appear in your dashboard to-do list, making it easy for you to incorporate them into your daily plan.
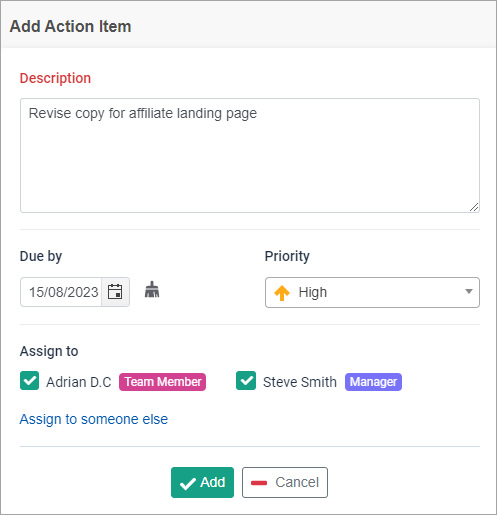
How to add action items and assign them to a team member
You'll see the Assigned Action Items panel in the top-right of the meeting page.

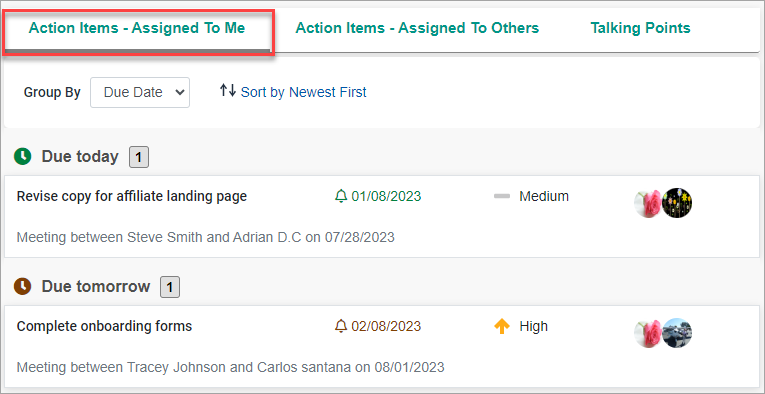
Keeping track of Action Items
All attendees and admins will receive a meeting report after the meeting concludes. The meeting report will contain the action items. You and your colleagues can also review all the action items in the Meeting dashboard. The action items assigned to you will be on your task list.
To mark an Action item as completed, click the check box next to the Action Item. The crossed-out text indicates that the action item was completed.